
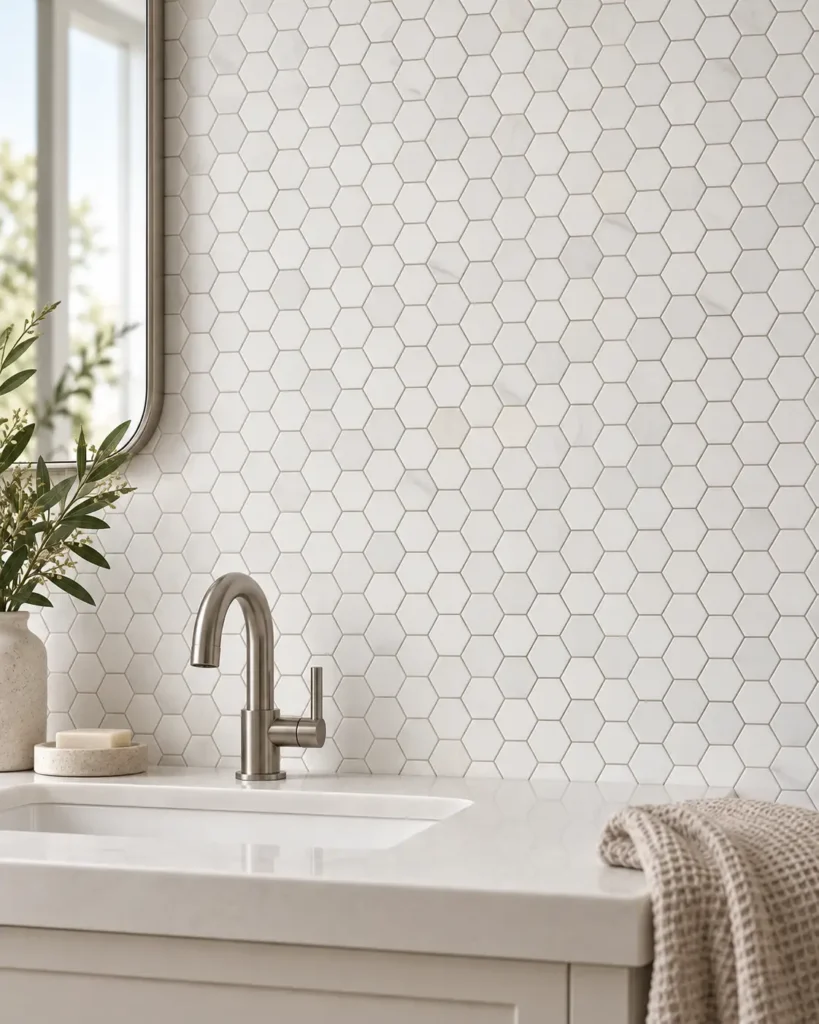
A marble mosaic sheet layout needs two coordinated grids: the visible pattern formed by individual stone pieces and the handling grid created by the mounted sheets. When these grids are not reconciled, a carefully selected mosaic can read as a collection of separate squares.
For architects, the useful review happens before installation: check the real sheet repeat, set-out, perimeter cuts and a grouted sample. This guide focuses on that layout review. Our Marble Mosaic Specification Guide for Architects covers the wider material and assembly brief.
Start with actual sheets, not a catalogue rectangle
Obtain the current product drawing and several representative sheets. Record the chip dimensions, sheet dimensions, mounting method, thickness, intended orientation and joint arrangement. An interlocking sheet may have a bounding rectangle that is different from its installed repeat.
Artistic Tile’s Cane mosaic product guidance, for example, calls out irregular interlocking sheets, dry layout and maintaining sheet orientation. These are product-specific instructions, but they demonstrate why a generic square-sheet assumption can be misleading.
Keep the manufacturer’s installation instructions with the layout submission. If the supplied geometry or backing changes, review the layout again rather than using the previous sheet drawing unchanged.
Draw the pattern repeat and the sheet boundaries separately
Use one drawing layer for the visible mosaic and another for the sheet edges. On the same plan or elevation, show the room boundary, centreline, borders, penetrations and transitions. A reviewer should be able to follow the intended pattern through several sheets without guessing where it restarts.
A useful drawing check is to hide the sheet-boundary layer. If the remaining pattern contains an unexplained break, doubled joint or interrupted motif, resolve it before approving the arrangement. Then restore the sheet layer to check how the installation team will assemble the field.
Test a group of sheets at full scale
Dry-lay enough sheets to include both directions of the repeat and the conditions that matter most. A single sheet cannot demonstrate a four-sheet intersection, a border connection or a change of direction.
Maison Surface’s installation guidance recommends checking the received product and dry-laying sheets to establish the overall appearance, including even alignment of joints between sheets. Use the approved arrangement as a photographic reference, with sheet orientation clearly recorded.
- Inspect the field from normal standing distance as well as close up.
- Check whether sheet boundaries create a repeated visual frame.
- Compare spacing across a boundary with spacing inside a sheet.
- Look for concentrated dark or light pieces that distract from the intended pattern.
- Check the geometry at the meeting point of several sheets.
Design the perimeter before fixing the centreline
Test more than one starting position against the real room dimensions. A centred motif may look attractive in the middle but leave awkward fragments at a doorway or exposed edge. Compare the whole field, including the most visible perimeter.
London Mosaic’s sheeted-product layout guidance demonstrates establishing centre and symmetry lines, then checking field and border sheets before installation. Its product system differs from a marble mosaic, so use the planning principle while retaining the instructions for your actual stone product.
For a bathroom elevation, draw sockets, taps, niches and mirror edges. For a floor, show thresholds and changes of material. Where mosaic meets a larger stone module, coordinate both thickness and setting-out with the marble flooring layout.
Do not force a universal joint width or stagger
Joint width should suit the supplied mosaic and approved installation system. A value copied from a different mosaic may distort the repeat or make sheet boundaries more visible. Do not close joints simply to hide an error in the setting-out.
Likewise, staggering sheets is not a universal solution. A directional or interlocking design may require a particular orientation. Have the supplier and installer agree any adjustment, including the handling of individual pieces, against a physical sample. Preserve movement accommodation required by the project assembly.
Approve a grouted mock-up, not only a dry arrangement
A dry layout helps review pattern and distribution. A grouted mock-up answers additional questions about joint colour, perceived contrast, surface cleaning and the finished edge. Include the actual proposed grout and any specified treatment, following the relevant manufacturers’ instructions.
Record lighting and viewing distance when discussing appearance. If a joint looks acceptable only under a particular inspection condition, clarify the acceptance basis before the work expands across the room. For wet areas, the visual sample does not establish waterproofing, drainage or slip suitability; those require their own project review.
A practical layout submission checklist
Use the following proposed checklist to coordinate the architect, supplier and installer:
- Room or elevation reference and current measured dimensions.
- Product, stone selection, finish and supplied sheet identifiers.
- Actual chip geometry and installed repeat.
- Pattern orientation, start point and reference axes.
- Sheet boundaries and proposed numbering where needed.
- Border, threshold, corner and penetration details.
- Approved joint appearance and grouted mock-up reference.
- Backing and setting-system compatibility confirmation.
- Required movement-joint and wet-area details by the responsible designer.
- Review status, unresolved items and drawing revision.
Example: resolving a narrow strip at a doorway
Imagine a repeated mosaic field that leaves a thin partial motif beside a prominent doorway. Before changing the whole pattern, compare three drawn options: shift the starting axis, introduce a designed border, or adjust the transition location if the architecture permits it. Dry-lay the preferred option and check its effect at the opposite edge.
This is a layout exercise, not a prescribed construction detail. The strongest option is the one that resolves the visible edges while remaining compatible with the actual sheet geometry and project requirements.
Bring the layout into the project enquiry
Send the room drawing, reference pattern, stone palette, intended use and quantities together. Identify any focal axis or border that must be maintained. These details make it easier to discuss what needs a standard sheet, a custom component or a larger mock-up.
VeraMarbles provides natural-stone project coordination. Share your mosaic drawings and material requirements to discuss the next stage of your project.